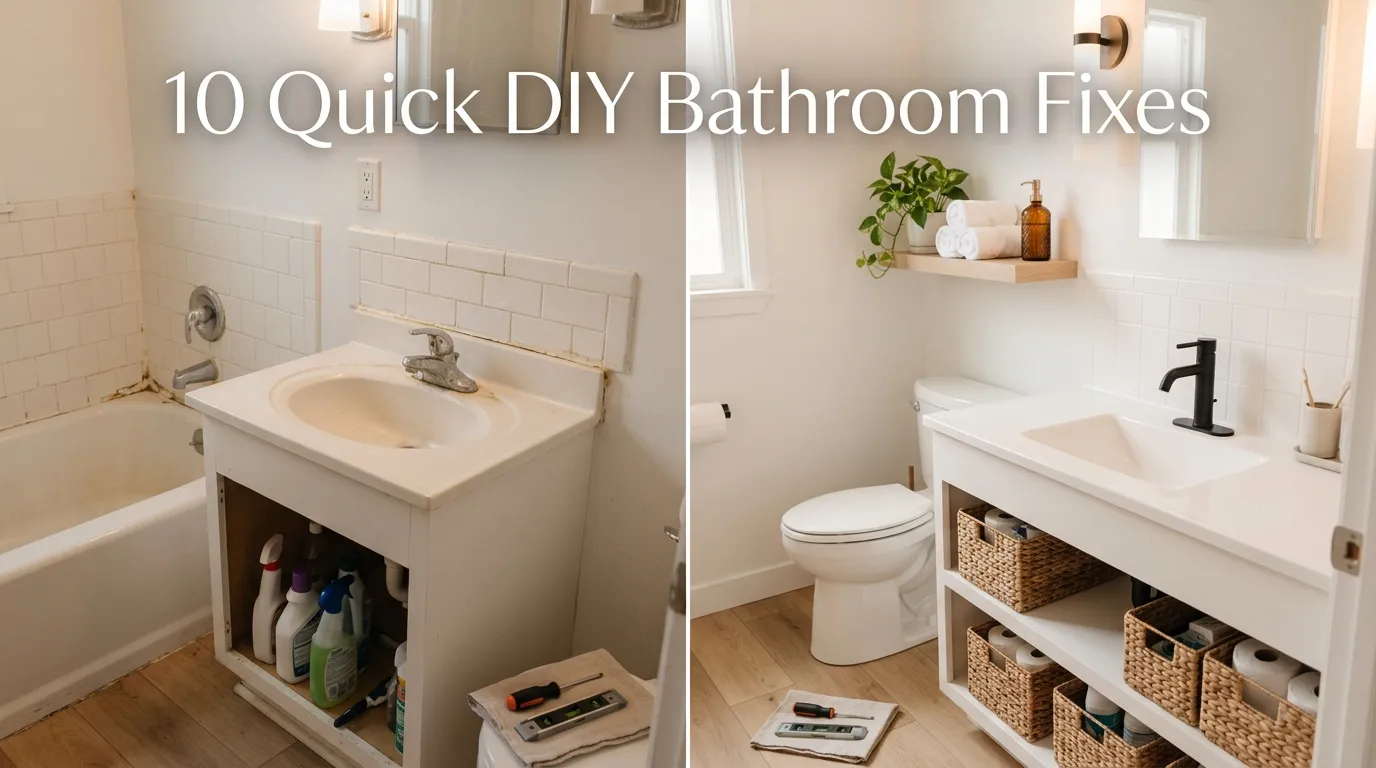
10 Quick DIY Bathroom Fixes
A bathroom does not always need a full renovation to feel cleaner, brighter, and more stylish. Sometimes the smallest updates make the biggest difference, especially when they solve everyday problems like cluttered counters, dull grout, weak lighting, outdated hardware, or towels that never seem to have a proper place. For many USA homeowners and renters, bathroom upgrades need to be affordable, realistic, and easy enough to finish without hiring a contractor. That is where smart Quick DIY ideas can completely refresh the space without turning your weekend into a construction project.
This guide focuses on practical bathroom fixes that improve both function and visual appeal. Each idea is designed to be simple, budget-conscious, Pinterest-friendly, and useful for real homes. Whether your bathroom is small, outdated, plain, or just missing personality, these updates can help you create a cleaner and more polished space. You will find easy styling tips, material suggestions, and design-focused advice that can make your bathroom feel more organized, inviting, and thoughtfully finished.
1. Fresh Caulk
- Gives the bathtub, shower, or sink area a cleaner finished edge
- Helps seal gaps where water can collect
- Makes old bathroom corners look newer without major work
- Works well with white, clear, or paintable bathroom caulk
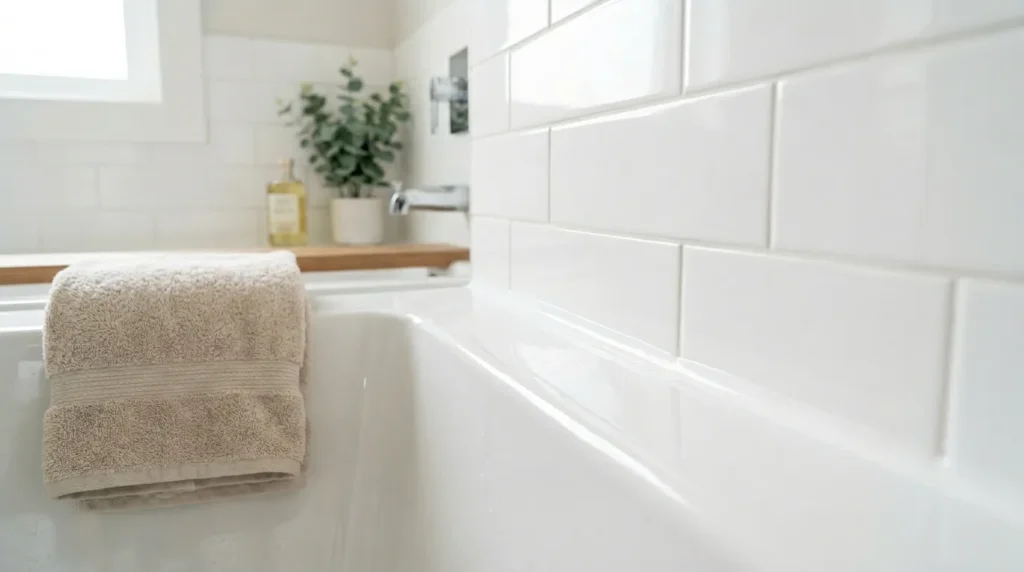
Fresh caulk can make a tired bathroom look instantly cleaner because it removes the dark, cracked, or peeling lines that draw attention around tubs and sinks. In my experience, even a beautiful bathroom can look neglected when the caulk is stained or uneven. Start by removing the old caulk carefully with a scraper or utility knife, then clean the area with rubbing alcohol and let it dry fully. Use waterproof bathroom caulk, apply a smooth bead, and run a damp finger or caulk tool along the edge for a neat finish.
This simple update improves both appearance and protection, especially around wet areas where water damage can begin quietly. A clean caulk line creates a crisp border between tile, porcelain, and countertops, making the space feel more finished. For a Pinterest-style look, keep the line thin and consistent instead of bulky. White caulk looks bright around tubs and sinks, while clear caulk blends well near glass or stone. Let it cure according to the label before using the area so the seal stays strong and smooth.
2. Grout Refresh
- Brightens old tile without replacing it
- Helps remove a dingy or stained bathroom look
- Works on floors, shower walls, and backsplash areas
- Can be done with grout cleaner, grout pen, or color sealer
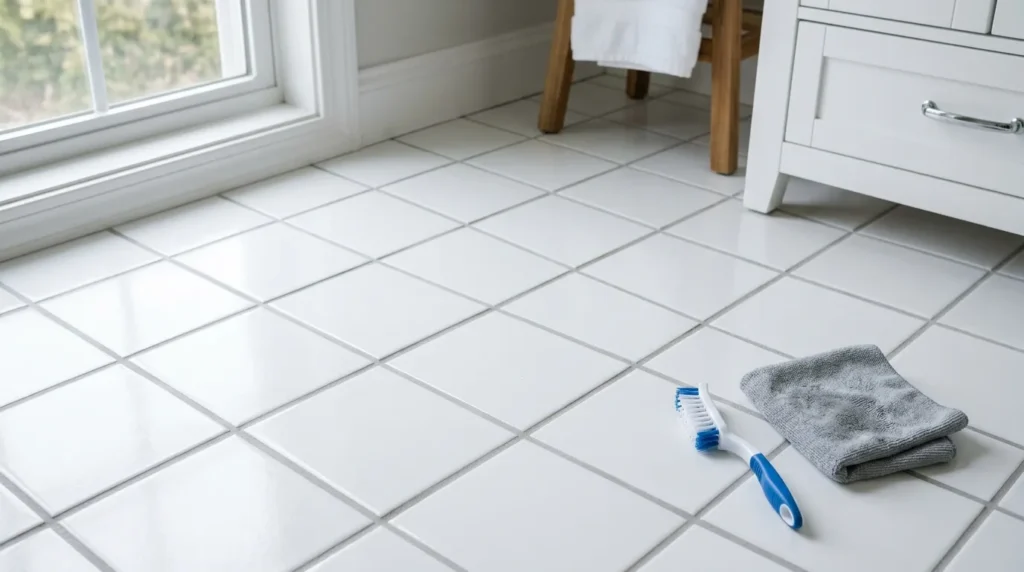
Old grout can make bathroom tile look older than it really is, especially when the tiles themselves are still in good condition. A grout refresh is one of the most effective small upgrades because grout lines cover a large visual area. Start with a deep clean using a grout brush and bathroom-safe cleaner. If stains remain, a grout pen or grout colorant can even out the lines. Choose a shade close to the original color for a clean reset, or go slightly brighter for a fresher, newer look.
The transformation feels surprisingly dramatic because clean grout makes the entire tile surface appear more polished. I’ve noticed that white or light gray grout lines often give small bathrooms a brighter, more open feeling, while darker grout can add contrast and hide future staining better. Work slowly in sections, wipe extra product from tile surfaces, and allow enough drying time. This fix is especially useful before taking listing photos, rental photos, or Pinterest-style bathroom makeover images because it improves the background instantly.
3. Mirror Frame
- Turns a plain builder-grade mirror into a styled feature
- Adds warmth, texture, or contrast to the bathroom wall
- Works with wood trim, peel-and-stick frames, or painted molding
- Makes the vanity area feel more complete and intentional
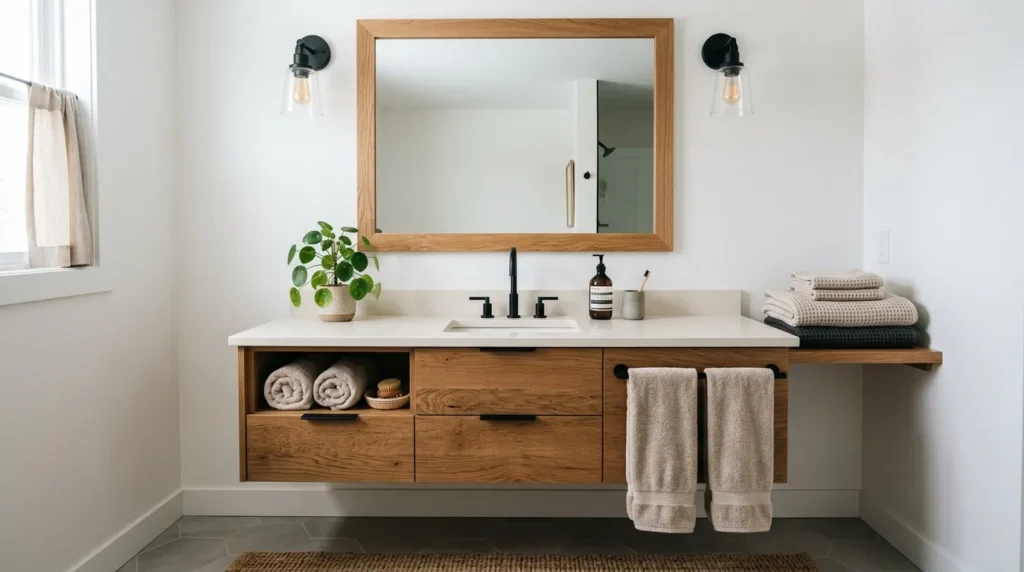
A plain frameless mirror can look unfinished, but adding a simple frame gives the vanity wall a more custom feel. This project works especially well in bathrooms with large rectangular mirrors that feel flat or outdated. You can use lightweight wood trim, pre-made mirror frame kits, or moisture-resistant molding. Measure carefully, cut the pieces to fit, paint or stain them before installation, and attach them with strong mirror-safe adhesive. Soft oak, matte black, white, or walnut tones can all change the mood of the space.
A framed mirror creates a stronger focal point and helps connect the mirror to the rest of the bathroom design. That’s why many designers recommend repeating finishes already present in the room, such as matching the frame to cabinet hardware, shelving, or towel hooks. A black frame adds modern contrast, while natural wood creates warmth in white or neutral bathrooms. Keep the frame slim for a clean look or slightly thicker for a farmhouse-inspired style. The result feels polished without replacing the mirror itself.
4. Hardware Swap
- Updates cabinets without painting or replacing them
- Adds a modern, vintage, rustic, or luxury touch
- Works with knobs, pulls, towel bars, hooks, and toilet paper holders
- Helps unify the bathroom through matching finishes
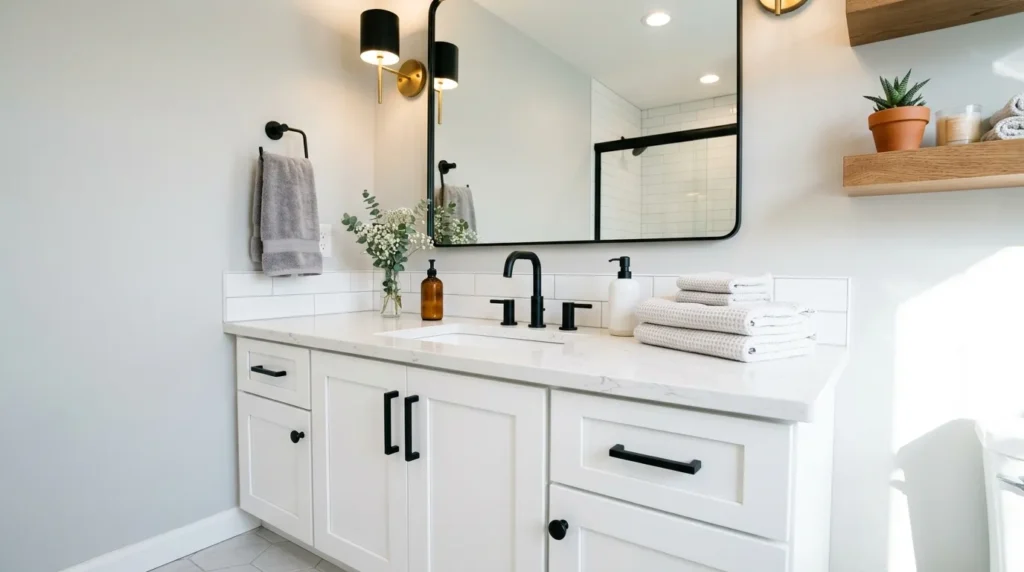
Changing bathroom hardware is a small fix that can make cabinets and walls feel completely refreshed. Old chrome knobs, scratched towel bars, or mismatched hooks can make a bathroom look dated even when the space is clean. Replace them with finishes that match your desired style, such as matte black for modern contrast, brushed nickel for a timeless look, brass for warmth, or oil-rubbed bronze for a classic feel. Use a screwdriver, measuring tape, and a template if you are installing new cabinet pulls.
The best part of this update is how quickly it brings visual consistency into the room. I’ve seen this work well in many homes where the vanity, mirror, and lighting were simple, but the new hardware made everything feel more planned. If you rent, choose updates that fit the existing holes so you can switch them back later. Keep finishes limited to one or two tones so the room does not feel busy. A matching towel ring, cabinet pull, and robe hook can create a clean designer-style detail.
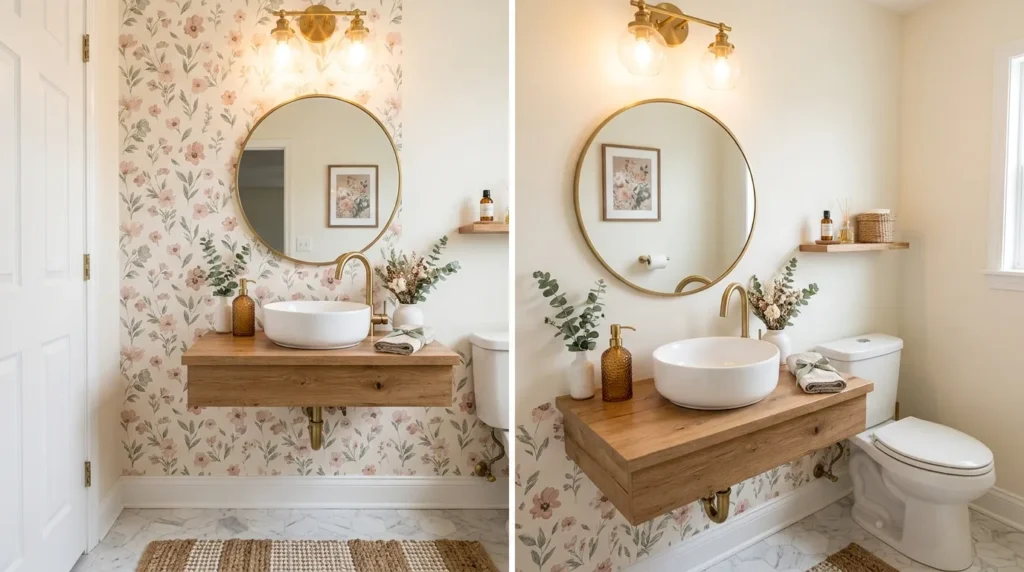
5. Peel Wallpaper
- Adds personality to plain bathroom walls
- Works well behind vanities, shelves, or open wall areas
- Creates a Pinterest-friendly accent without permanent renovation
- Available in floral, coastal, neutral, geometric, and vintage prints
Peel-and-stick wallpaper can give a bathroom a major style lift without paint, tile, or construction. It is especially helpful for powder rooms, small bathrooms, and vanity walls where a little pattern can go a long way. Choose moisture-resistant wallpaper and avoid placing it directly inside a shower or constantly wet area. Clean the wall, let it dry, measure carefully, and apply the paper slowly from top to bottom. Use a smoothing tool to push out bubbles and keep the pattern aligned.
This update works because it adds color, texture, and personality in one step. A soft floral print can make the bathroom feel charming and cottage-inspired, while a neutral grasscloth texture adds quiet elegance. For a modern look, try simple line patterns, small-scale arches, or soft geometric designs. In smaller bathrooms, avoid overly dark or crowded patterns unless you want a dramatic powder-room effect. Pair wallpaper with simple towels and clean countertops so the wall remains the main visual feature.
6. Shelf Styling

- Adds storage without taking up floor space
- Makes empty walls more useful and decorative
- Works with wood shelves, metal brackets, baskets, and jars
- Helps organize towels, skincare, candles, and daily essentials
Bathroom shelves can solve storage problems while also making the room feel styled and welcoming. A floating shelf above the toilet, beside the mirror, or on an empty wall can hold folded towels, small baskets, glass jars, and decorative accents. Use moisture-friendly materials like sealed wood, metal, or painted shelves. Keep heavy items low and lighter items higher. Before installing, check wall anchors and spacing so the shelf feels secure and balanced instead of crowded or awkward.
A well-styled shelf should feel useful, not cluttered. Place items in small groups, mix textures, and leave breathing room between objects. For example, combine a rolled hand towel, amber soap bottle, small plant, and woven basket for a natural Pinterest-style arrangement. That’s why many designers recommend repeating colors from the rest of the bathroom, such as white towels, black frames, wood tones, or soft green accents. This keeps the shelf connected to the room instead of looking like random storage.
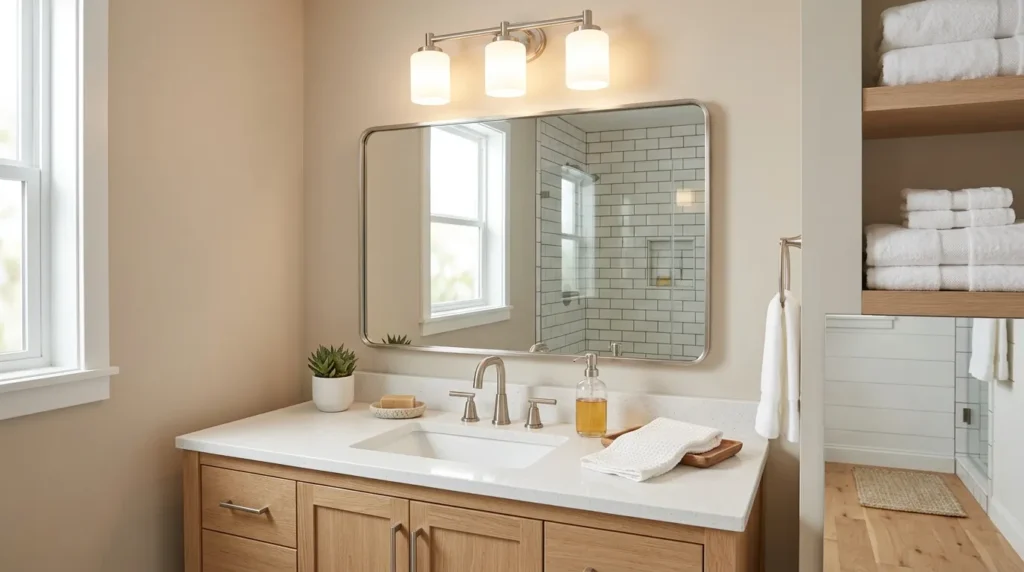
7. Lighting Update
- Makes the bathroom feel brighter and cleaner
- Improves mirror visibility for grooming and skincare
- Adds style through sconces, vanity lights, or bulbs
- Helps small bathrooms feel more open and inviting
Bathroom lighting can completely change how the space feels, especially around the mirror. If the room looks yellow, shadowy, or dull, start by replacing old bulbs with bright, soft white LED bulbs. For a bigger update, switch outdated vanity lighting to a modern fixture that fits the room’s finish. Always choose bathroom-safe fixtures rated for damp locations when needed. If electrical work is required, hire a licensed electrician instead of guessing, because safety matters more than speed.
Good lighting makes finishes look cleaner, colors look more accurate, and the entire room feel more comfortable. A simple brushed nickel or matte black vanity light can make an old mirror area feel updated, while warm brass adds a soft boutique-hotel touch. Keep bulb color consistent so the room does not look patchy. Around 3000K to 4000K often works well for bathrooms because it feels bright without looking harsh. This is one of those easy upgrades that improves both everyday function and visual appeal.
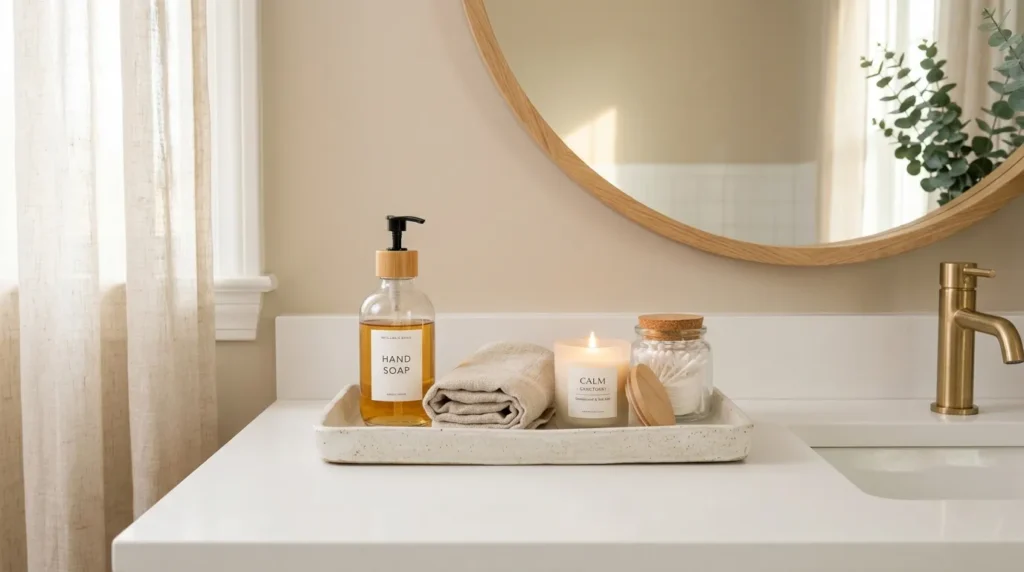
8. Counter Reset
- Clears visual clutter from the vanity area
- Makes daily products easier to find and use
- Creates a cleaner photo-ready bathroom surface
- Works with trays, jars, baskets, soap pumps, and organizers
A bathroom counter reset is one of the fastest ways to make the space feel calmer and more expensive. Start by removing everything from the counter, wiping the surface, and sorting products into daily-use, occasional-use, and unnecessary items. Keep only the essentials visible, such as hand soap, a small tray, a candle, or one skincare item. Store the rest in drawers, baskets, or under-sink organizers. Matching containers can make even basic products look more intentional and clean.
This fix works because bathroom counters often collect clutter without anyone noticing. Toothpaste, hair tools, bottles, makeup, and random items can make the space feel smaller and messier. Use a tray to create a defined zone, then add one useful decorative piece like a small vase, folded washcloth, or glass jar. For a Quick DIY bathroom improvement, this is one of the easiest because it requires more editing than spending. The final look feels peaceful, practical, and much easier to maintain.
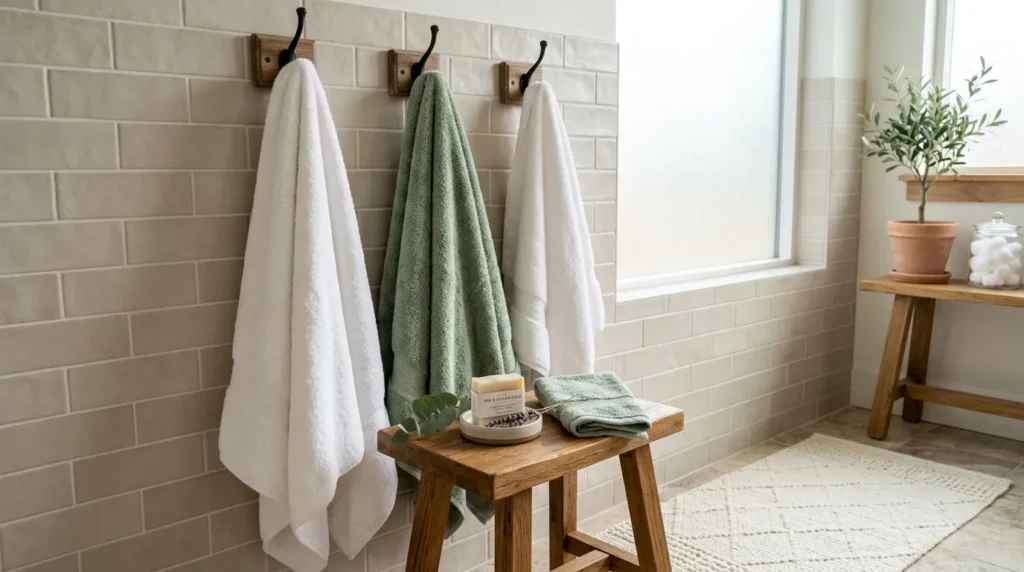
9. Towel Upgrade
- Makes the bathroom feel softer and more coordinated
- Adds color, texture, and a spa-inspired touch
- Improves function with better hooks, bars, or rings
- Works well with neutral, striped, waffle, or plush towels
New towels can refresh a bathroom immediately because they are both practical and decorative. Replace faded, mismatched, or rough towels with a small coordinated set that fits your bathroom palette. White towels feel clean and spa-like, beige towels add warmth, soft gray feels modern, and muted green or blue can create a calm coastal mood. If storage is visible, fold or roll towels neatly to make open shelves look more styled. Choose towels that feel soft but also dry well.
The way towels are displayed matters just as much as the towels themselves. A towel hook can feel casual and easy, while a towel bar gives a neater, more traditional look. In small bathrooms, hooks often save wall space and help towels dry separately. I’ve noticed that bathrooms feel more finished when hand towels match the bath towels or repeat the same color family. Add a textured bath mat in a similar tone to pull the whole area together without overdecorating.
10. Sink Details
- Gives the vanity area a polished finishing touch
- Improves the look of soap, brushes, and daily items
- Adds small decor without creating clutter
- Works with trays, dispensers, jars, plants, and hand towels
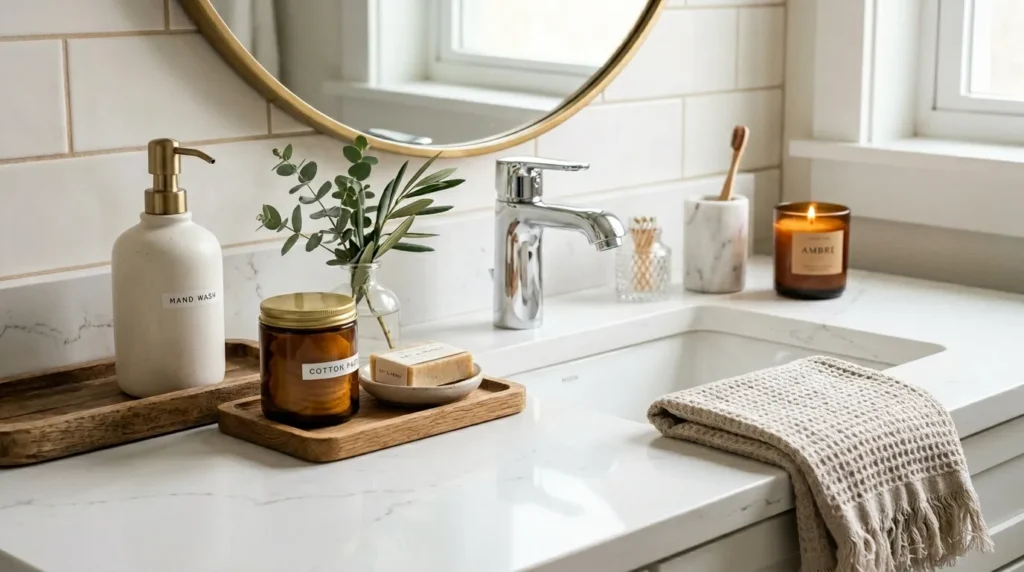
The sink area is one of the most-used parts of the bathroom, so small details here make a big difference. Replace a plastic soap bottle with a refillable dispenser, add a small tray, and keep the faucet area clean and dry. A ceramic cup, glass jar, or stone-look container can hold cotton rounds, floss picks, or hair ties. Keep the styling simple because too many items near the sink can quickly become messy or hard to clean.
These finishing details help the bathroom feel cared for and thoughtfully designed. A small plant, neatly folded hand towel, or amber bottle can soften the hard surfaces around the sink. Choose materials that handle moisture well, such as ceramic, glass, resin, metal, or sealed wood. Try to keep everything low-profile so the mirror and faucet remain visible. This final layer is what turns a basic bathroom into a space that feels styled, practical, and ready for everyday use.